Step-by-Step Guide to Installing a Kent Water Purifier in Your Home
Installing a Kent water purifier in your home is a great way to ensure that you and your family have access to clean, safe drinking water. Here is a step-by-step guide to help you get started:
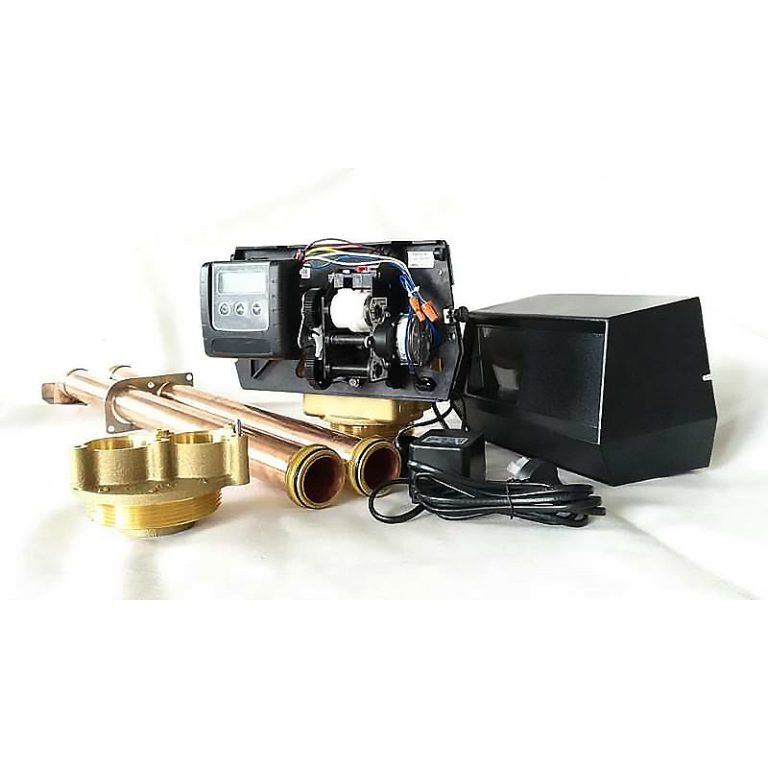
1. Choose the right model for your home. Kent offers a wide range of water purifiers, so make sure to select one that is suitable for your home’s water supply.
2. Install the purifier. Depending on the model you choose, you may need to install the purifier yourself or hire a professional.
| Model | Tube(a) | Stem(b) |
|---|---|---|
| 1801-A | 1/4 | 1/4 |
| 1801-C | 1/4 | 3/23 |
3. Connect the purifier to your water supply. This will involve connecting the purifier to your home’s water supply line.
4. Test the purifier. Once the purifier is connected, it’s important to test it to make sure it is working properly.
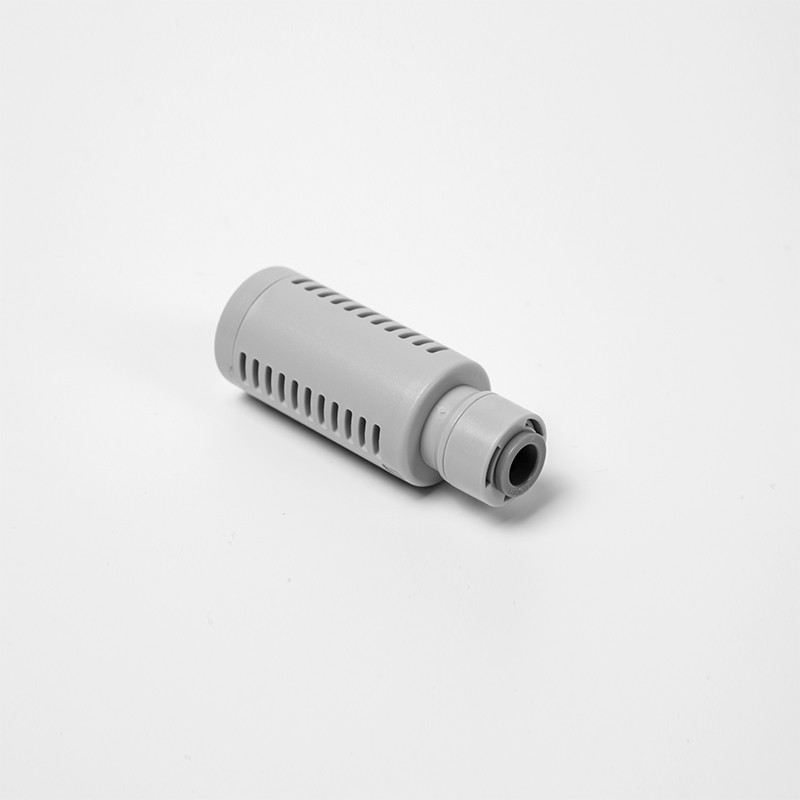
5. Change the filter. Depending on the model you choose, you may need to change the filter periodically.
6. Enjoy clean, safe drinking water. Once the purifier is installed and working properly, you and your family can enjoy clean, safe drinking water.
Following these steps will help ensure that you get the most out of your Kent water purifier. Enjoy!