“Eliminate hard water headaches with a simple twist of the bypass valve.”
Steps to Remove water softener bypass valve
Water softeners are essential appliances in many households, as they help to remove minerals such as calcium and magnesium from water, making it softer and more suitable for everyday use. However, over time, the bypass valve on a water softener may need to be removed for maintenance or repair purposes. In this article, we will discuss the steps involved in removing a water softener bypass valve.
The first step in removing a water softener bypass valve is to shut off the water supply to the softener. This can usually be done by turning off the main water supply valve to the house. Once the water supply has been shut off, you will need to relieve any pressure in the system by opening a faucet or two in the house.
Next, locate the bypass valve on the water softener. This valve is typically located near the control head of the softener and is used to divert water around the softening resin during regeneration or maintenance. The bypass valve may be a lever-style valve or a knob that needs to be turned to the bypass position.
Once you have located the bypass valve, you will need to disconnect it from the water softener. This can usually be done by unscrewing the nuts or bolts that hold the valve in place. Use a wrench or pliers to loosen the nuts or bolts, being careful not to damage the valve or the surrounding plumbing.
After the bypass valve has been disconnected from the water softener, you can remove it from the system. Depending on the type of valve, you may need to twist or pull the valve out of its housing. Be sure to keep track of any washers or O-rings that may be attached to the valve, as these will need to be reinstalled when the valve is replaced.
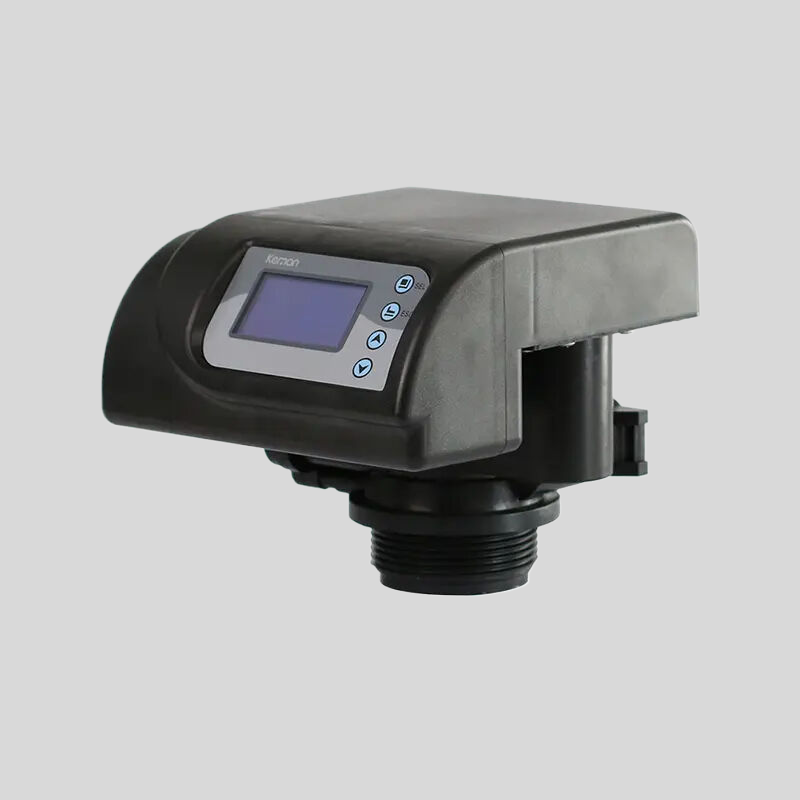
| Model | Category | Water Capacity m3/h | LCD | LED | ICON | DIODE |
| ASDU2 | automatic softener valve | 2 | O | O | O | O |
| ASDU2-H | Automatic Softener Valve | 2 | O | O | X | X |
| ASDU4 | Automatic Softener Valve | 4 | O | O | O | O |
| ASDU4-L | Automatic Softener Valve | 4 | O | O | O | O |
With the bypass valve removed, you can now inspect it for any signs of damage or wear. If the valve is in good condition, you may simply need to clean it before reinstalling it. However, if the valve is damaged or malfunctioning, you will need to replace it with a new one.
Before reinstalling the bypass valve, it is a good idea to clean the area around the valve housing to remove any debris or buildup. This will help ensure a proper seal when the valve is reinstalled. Once the area is clean, insert the new bypass valve into the housing and secure it in place with the nuts or bolts.
After the bypass valve has been reinstalled, you can turn the water supply back on and check for any leaks. If everything looks good, you can then test the water softener to ensure that it is functioning properly. Run a regeneration cycle on the softener and check for any issues with the bypass valve.
In conclusion, removing a water softener bypass valve is a relatively simple process that can be done with a few basic tools and some careful attention to detail. By following the steps outlined in this article, you can safely remove and replace a bypass valve on your water softener, ensuring that your system continues to operate efficiently and effectively.