How to Properly Connect a Water Purifier to Your Home Electrical System
Connecting a water purifier to your home electrical system can be a daunting task, but it doesn’t have to be! With a few simple steps, you can have your water purifier up and running in no time.
First, make sure you have all the necessary tools and materials. You’ll need a power drill, a screwdriver, a pair of pliers, and a few electrical wires. You’ll also need to purchase a water purifier that is compatible with your home’s electrical system.
Next, locate the power source for your water purifier. This is usually located near the water heater or other water source. Once you’ve located the power source, you’ll need to turn off the power to the area. This is an important safety precaution, so make sure you do this before proceeding.
Once the power is off, you can begin connecting the water purifier to the electrical system. Start by connecting the power cord to the power source. Then, connect the other end of the power cord to the water purifier. Make sure the connections are secure and that the power cord is firmly in place.
Finally, turn the power back on and test the water purifier. If everything is working properly, you can now enjoy clean, purified water in your home.
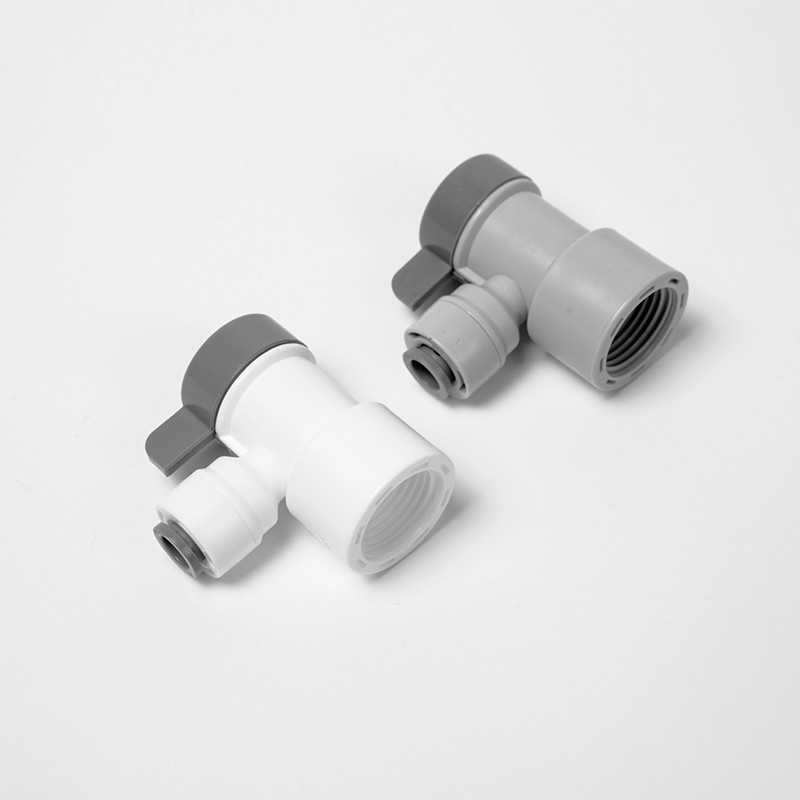
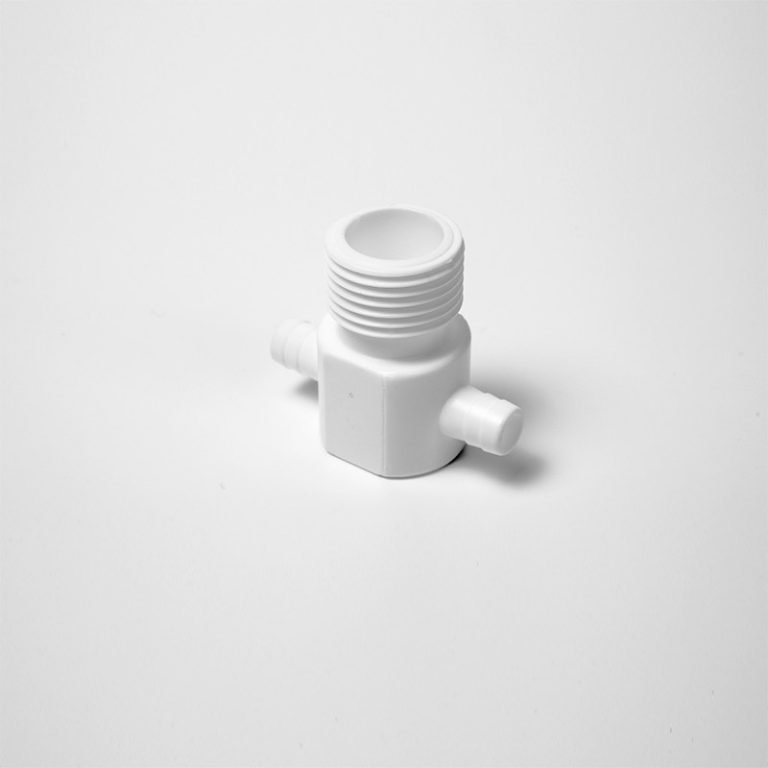
| Connector Model | Size A | Size B | Size C |
| 1821-E | 1/2″ | 3/8″ | 1/2″ |
Connecting a water purifier to your home electrical system doesn’t have to be a difficult task. With a few simple steps, you can have your water purifier up and running in no time. So don’t be intimidated – just follow these steps and you’ll be enjoying clean, purified water in no time!