Table of Contents
Benefits of Using Sharkbite Fittings for Water Softener Installation
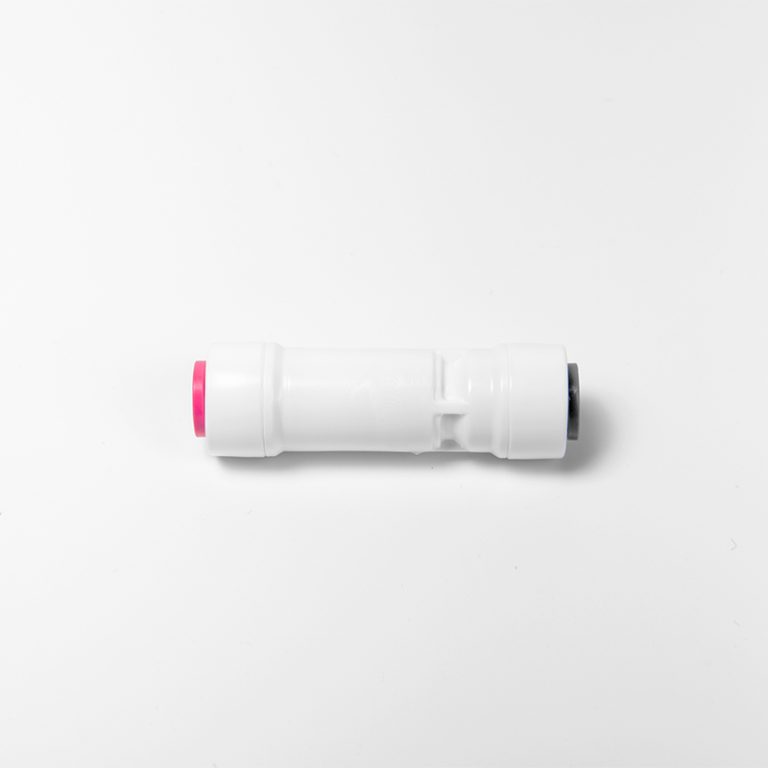
Sharkbite fittings have become increasingly popular in the plumbing industry due to their ease of use and reliability. When it comes to installing a water softener in your home, using Sharkbite fittings can make the process much simpler and more efficient. These fittings are designed to connect pipes without the need for soldering, making them ideal for DIY enthusiasts and professional plumbers alike.
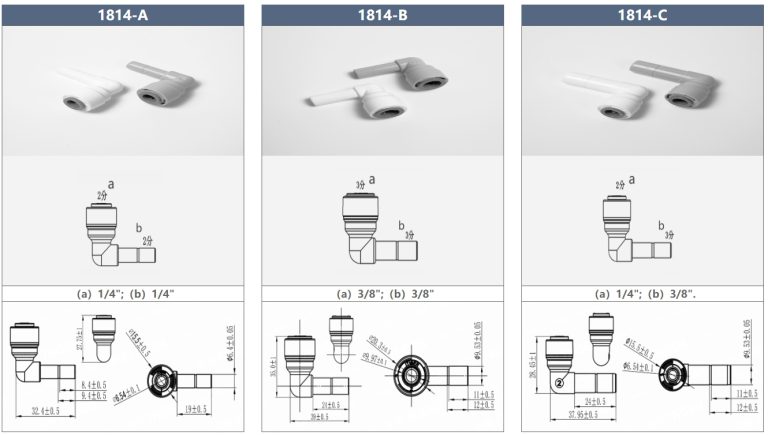
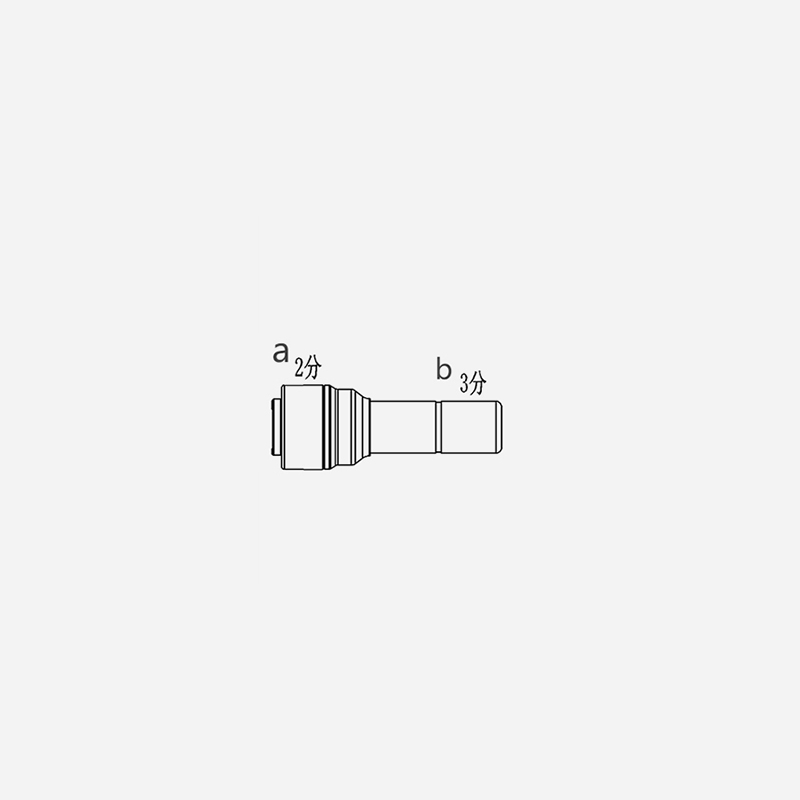
| Model | Tube(a) | Stem(b) |
|---|---|---|
| 1801-A | 1/4 | 1/4 |
| 1801-C | 1/4 | 3/35 |
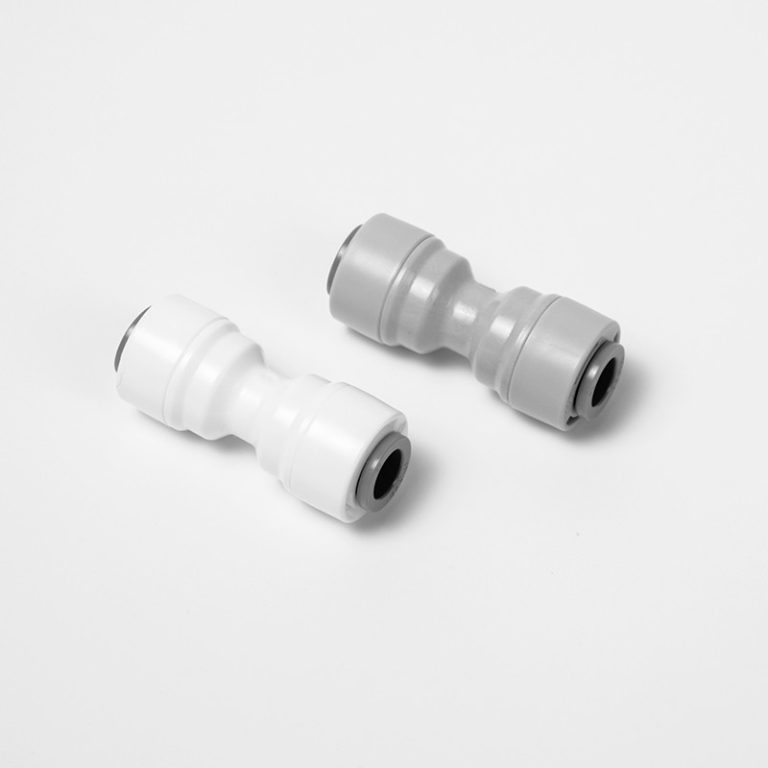
One of the main benefits of using Sharkbite fittings for water softener installation is their versatility. These fittings can be used with a variety of pipe materials, including copper, PEX, and CPVC. This means that regardless of the type of pipes you have in your home, Sharkbite fittings can provide a secure and leak-free connection. Additionally, Sharkbite fittings are reusable, so if you need to make adjustments to your water softener system in the future, you can easily disconnect and reconnect the fittings without damaging them.
Another advantage of using Sharkbite fittings is their speed and ease of installation. Traditional pipe connections require time-consuming soldering or gluing, which can be messy and require specialized tools. With Sharkbite fittings, all you need to do is push the fitting onto the pipe until it clicks into place. This can save you a significant amount of time and effort, especially if you are installing a water softener in a tight or hard-to-reach space.
In addition to their ease of installation, Sharkbite fittings are also incredibly reliable. These fittings are designed to withstand high pressure and temperature, ensuring that your water softener system operates smoothly and efficiently. Sharkbite fittings are also certified for use in potable water systems, so you can trust that they meet the highest standards for safety and performance.
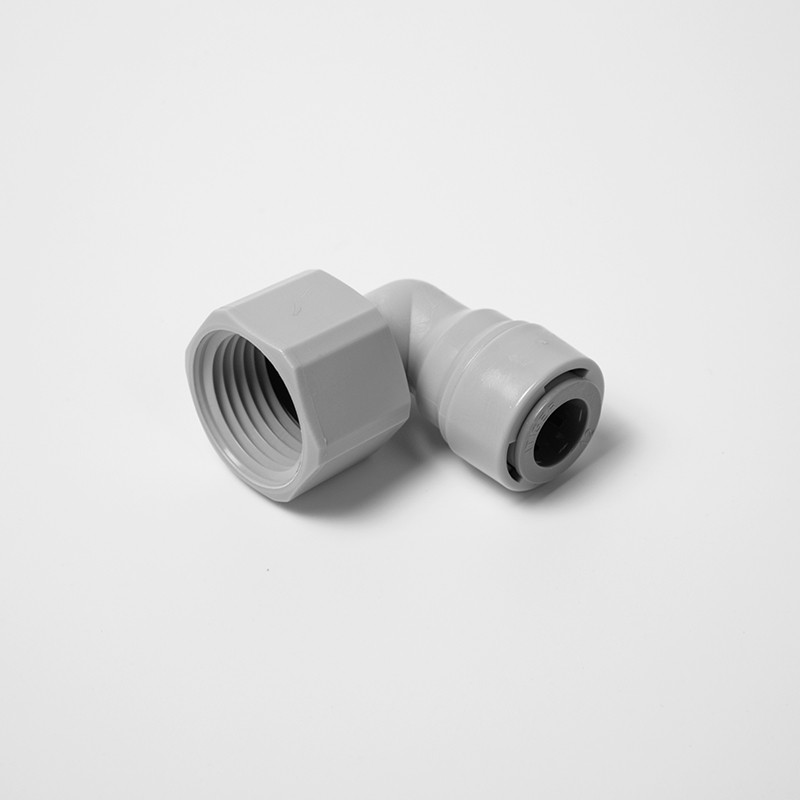
Furthermore, Sharkbite fittings are designed to be leak-proof. The unique design of these fittings creates a watertight seal that prevents leaks and ensures that your water softener system functions properly. This can give you peace of mind knowing that your plumbing connections are secure and reliable.
Overall, using Sharkbite fittings for water softener installation offers a range of benefits, from their versatility and ease of installation to their reliability and leak-proof design. Whether you are a DIY enthusiast looking to tackle a home improvement project or a professional plumber seeking a more efficient solution for your clients, Sharkbite fittings are an excellent choice for connecting pipes in a water softener system. With their proven performance and ease of use, Sharkbite fittings can help you complete your water softener installation quickly and effectively, ensuring that your home has access to clean, soft water for years to come.
Step-by-Step Guide on How to Install Sharkbite Fittings for Water Softener Systems
Sharkbite fittings have become increasingly popular in the plumbing industry due to their ease of use and reliability. These fittings are designed to make plumbing projects simpler and more efficient, allowing even the most inexperienced DIYers to tackle projects with confidence. One common application for Sharkbite fittings is in the installation of water softener systems. In this article, we will provide a step-by-step guide on how to install Sharkbite fittings for water softener systems.
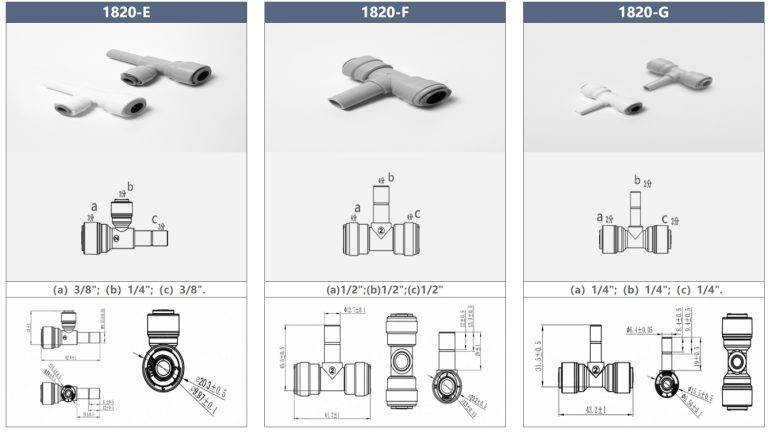
| Model | Tube(a) | Stem(b) |
|---|---|---|
| 1801-A | 1/4 | 1/4 |
| 1801-C | 1/4 | 3/40 |
Before we begin, it is important to gather all the necessary materials and tools for the installation. You will need Sharkbite fittings, a water softener system, a pipe cutter, a deburring tool, and a wrench. Make sure to turn off the water supply to your home before starting the installation process.
The first step in installing Sharkbite fittings for a water softener system is to cut the existing water supply line. Use a pipe cutter to make a clean, straight cut in the pipe where you want to install the fittings. Make sure to measure and mark the pipe accurately before cutting to ensure a proper fit.
Once the pipe is cut, use a deburring tool to remove any burrs or rough edges from the cut end of the pipe. This will help ensure a tight seal when the Sharkbite fitting is installed. It is important to take your time and make sure the pipe end is smooth and free of any debris.
Next, simply push the Sharkbite fitting onto the cut end of the pipe until it reaches the built-in depth gauge. The fitting should slide on easily and create a secure connection without the need for soldering or glue. Make sure the fitting is fully seated on the pipe to prevent any leaks.
Once the fitting is in place, use a wrench to tighten the fitting securely onto the pipe. Be careful not to over-tighten the fitting, as this can damage the fitting and cause leaks. A snug fit is all that is needed to create a watertight seal.
Repeat the same process for the other end of the fitting, connecting it to the water softener system. Make sure to follow the manufacturer’s instructions for installing the water softener to ensure proper operation. Once both fittings are securely in place, turn on the water supply and check for any leaks.
If there are no leaks, congratulations! You have successfully installed Sharkbite fittings for your water softener system. These fittings provide a quick and reliable solution for connecting pipes without the need for specialized tools or skills. With Sharkbite fittings, anyone can tackle plumbing projects with confidence and ease.
In conclusion, Sharkbite fittings are a great option for installing water softener systems due to their simplicity and reliability. By following this step-by-step guide, you can easily install Sharkbite fittings for your water softener system and enjoy the benefits of softened water in your home. Remember to always follow safety precautions and manufacturer’s instructions when working with plumbing systems.