How to Connect Your Livpure Water Purifier to Wi-Fi: A Step-by-Step Guide
Are you looking to connect your Livpure water purifier to Wi-Fi? With the right steps, you can easily connect your Livpure water purifier to your home Wi-Fi network. Here’s a step-by-step guide to help you get started.
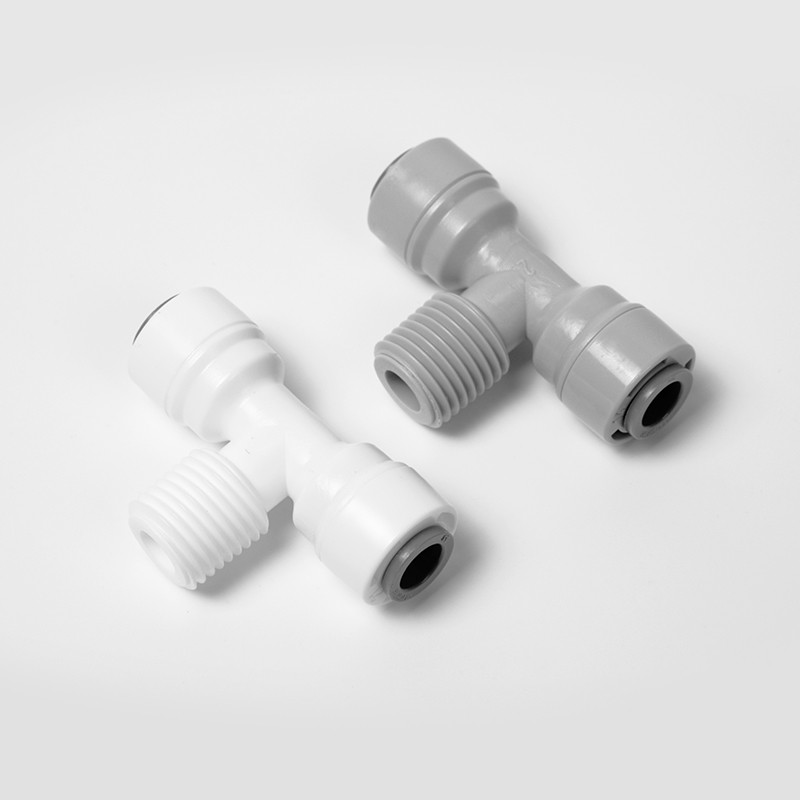
| Model | Tube(a) | Stem(b) |
|---|---|---|
| 1801-A | 1/4 | 1/4 |
| 1801-C | 1/4 | 3/25 |
Step 1: Download the Livpure App
The first step is to download the Livpure app from the App Store or Google Play Store. Once you’ve downloaded the app, open it and create an account.
Step 2: Connect Your Water Purifier
Once you’ve created an account, you’ll need to connect your water purifier to the app. To do this, you’ll need to press and hold the “Wi-Fi” button on the water purifier for five seconds. This will enable the Wi-Fi connection.
Step 3: Connect to Your Home Wi-Fi Network
Once the Wi-Fi connection is enabled, you’ll need to connect your water purifier to your home Wi-Fi network. To do this, open the Livpure app and select the “Connect to Wi-Fi” option. Then, enter your home Wi-Fi network’s name and password.
Step 4: Enjoy the Benefits of Connectivity
Once your water purifier is connected to your home Wi-Fi network, you’ll be able to enjoy the benefits of connectivity. You’ll be able to monitor the water quality, check filter life, and receive notifications when it’s time to change the filter.
Connecting your Livpure water purifier to Wi-Fi is easy and can help you stay on top of your water quality. With the right steps, you can easily connect your water purifier to your home Wi-Fi network and enjoy the benefits of connectivity.