Table of Contents
How to Install a UV Water Purifier: A Step-by-Step Guide
Step 1: Gather the necessary materials. You will need a UV water purifier, a drill, a screwdriver, a wrench, and a pair of pliers.
Step 2: Turn off the water supply. Before you begin, make sure to turn off the water supply to the area where you will be installing the UV water purifier.
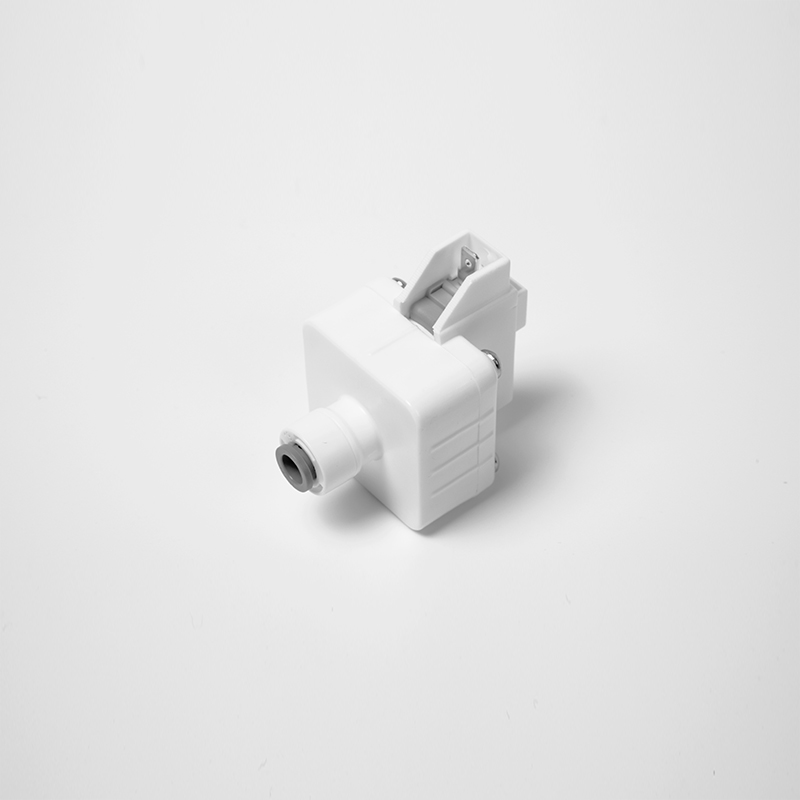
Step 3: Install the UV water purifier. Start by drilling a hole in the wall or pipe where you will be installing the UV water purifier. Then, use the screwdriver to attach the UV water purifier to the wall or pipe.
Step 4: Connect the water supply. Use the wrench and pliers to connect the water supply to the UV water purifier. Make sure the connections are tight and secure.
Step 5: Turn on the water supply. Once the connections are secure, turn on the water supply and check for any leaks.
| Model | Tube(a) | Stem(b) |
|---|---|---|
| 1801-A | 1/4 | 1/4 |
| 1801-C | 1/4 | 3/35 |
Step 6: Test the UV water purifier. Once the water supply is on, test the UV water purifier to make sure it is working properly.
Step 7: Enjoy your clean water! Now that your UV water purifier is installed and working properly, you can enjoy clean, safe water.