Table of Contents
Proper Tools and Techniques for Removing plastic quick connect Fittings
Plastic quick connect fittings are commonly used in plumbing and automotive applications for their ease of installation and removal. However, there may come a time when you need to remove a plastic quick connect fitting, whether it’s for maintenance, repair, or replacement. In this article, we will discuss the proper tools and techniques for removing plastic quick connect fittings.
When it comes to removing plastic quick connect fittings, having the right tools is essential. One of the most important tools you will need is a quick connect fitting removal tool. These tools are specifically designed to safely and effectively remove plastic quick connect fittings without damaging the surrounding components. Additionally, having a pair of adjustable pliers or wrenches can also be helpful in loosening and removing stubborn fittings.
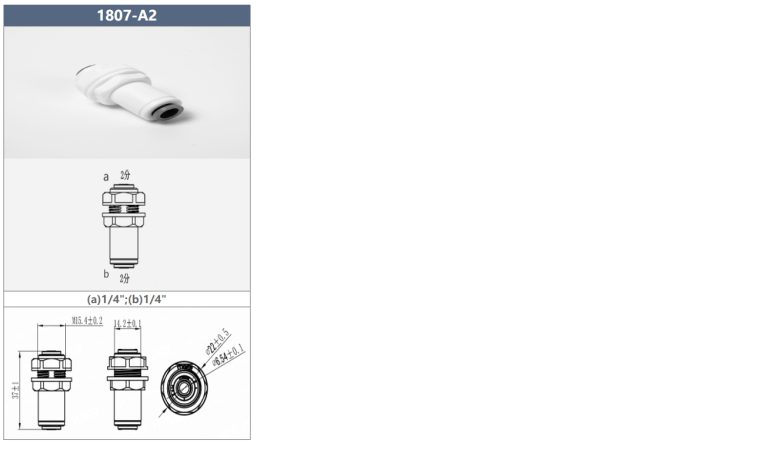
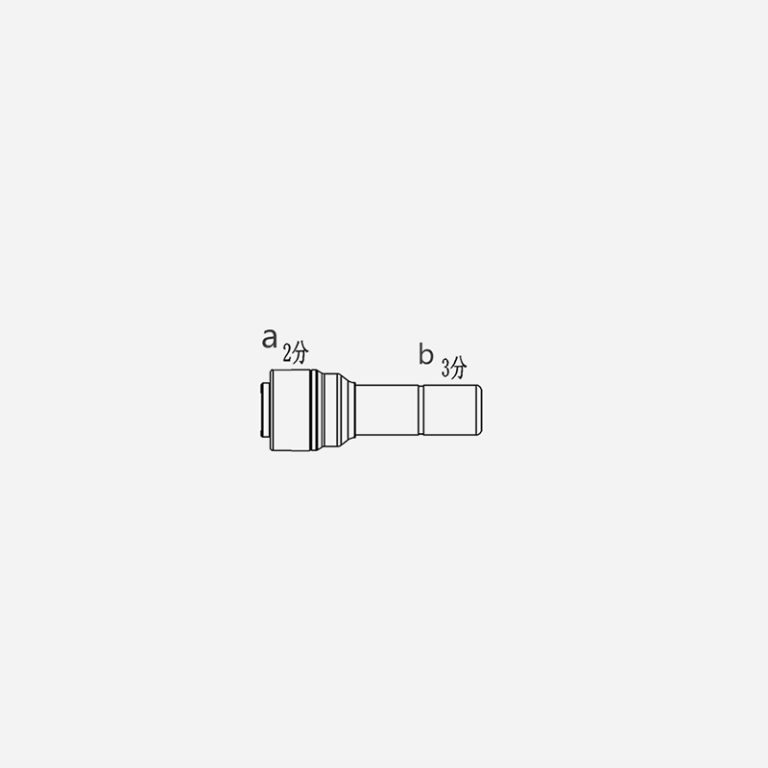
| Model | Tube(a) | Stem(b) |
|---|---|---|
| 1801-A | 1/4 | 1/4 |
| 1801-C | 1/4 | 3/34 |
Before you begin the removal process, it’s important to ensure that the system is depressurized. This can be done by turning off the water supply or releasing any built-up pressure in the system. Once the system is depressurized, you can begin the removal process.
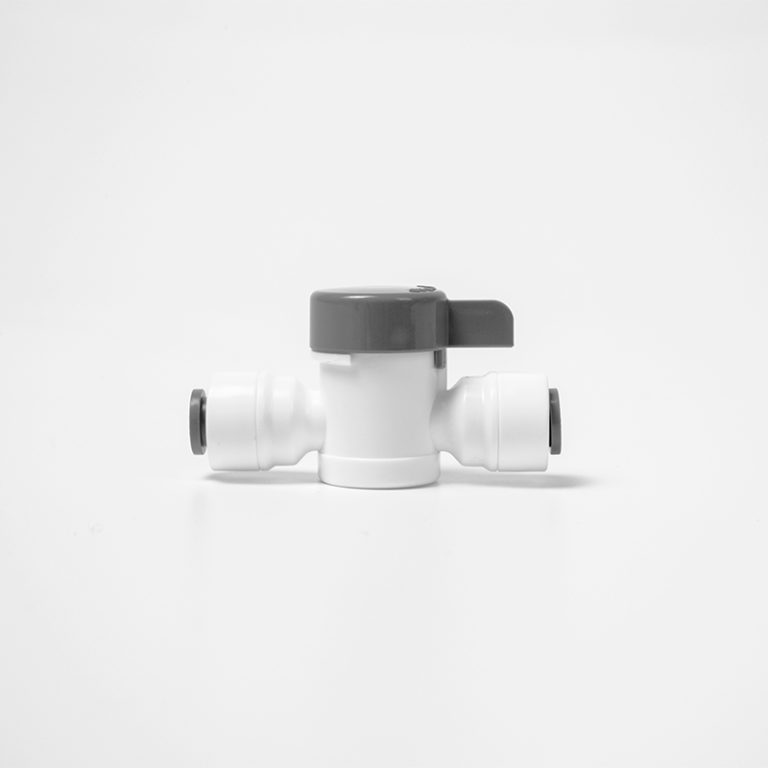
To remove a plastic quick connect fitting, start by locating the release collar on the fitting. The release collar is typically a small plastic ring that can be pushed or pulled to release the fitting. Using your quick connect fitting removal tool or a pair of pliers, gently push or pull the release collar to release the fitting. Be careful not to use excessive force, as this can damage the fitting or surrounding components.
If the fitting is stubborn and difficult to remove, you may need to apply some lubricant to help loosen it. Silicone lubricant or a small amount of dish soap can be applied to the fitting to help reduce friction and make it easier to remove. Once the lubricant is applied, try again to push or pull the release collar to release the fitting.
In some cases, you may encounter a fitting that is stuck or seized in place. If this happens, you may need to use a heat gun to gently heat the fitting and surrounding area. Heating the fitting can help to expand the plastic and make it easier to remove. Be sure to use caution when using a heat gun, as excessive heat can damage the fitting or surrounding components.
Once the fitting is released, you can gently pull it away from the connection point. Be sure to inspect the fitting and surrounding components for any signs of damage or wear. If the fitting is damaged, it will need to be replaced with a new fitting.
In conclusion, removing plastic quick connect fittings requires the proper tools and techniques to ensure a safe and effective removal process. By following the steps outlined in this article, you can safely remove plastic quick connect fittings without causing damage to the surrounding components. Remember to always depressurize the system before beginning the removal process and use caution when applying heat or lubricant. With the right tools and techniques, you can successfully remove plastic quick connect fittings and keep your plumbing or automotive system running smoothly.
Step-by-Step Guide to Safely Removing Plastic Quick Connect Fittings
Plastic quick connect fittings are commonly used in plumbing and automotive applications to easily connect and disconnect hoses and pipes. While these fittings are convenient, there may come a time when you need to remove them for maintenance or repair purposes. Removing plastic quick connect fittings can be a bit tricky if you’re not familiar with the process, but with the right tools and techniques, you can safely and effectively remove them without causing damage.
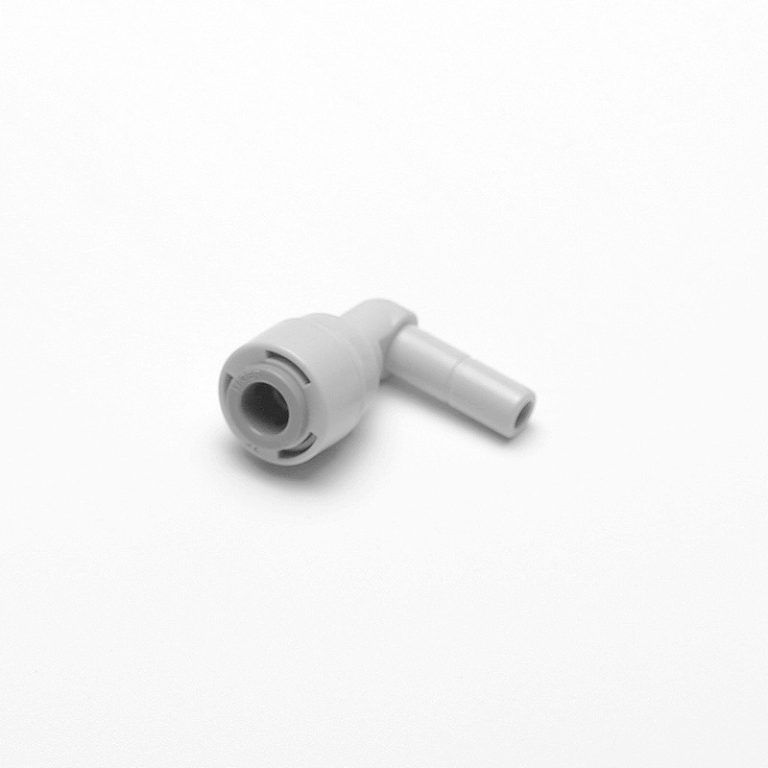
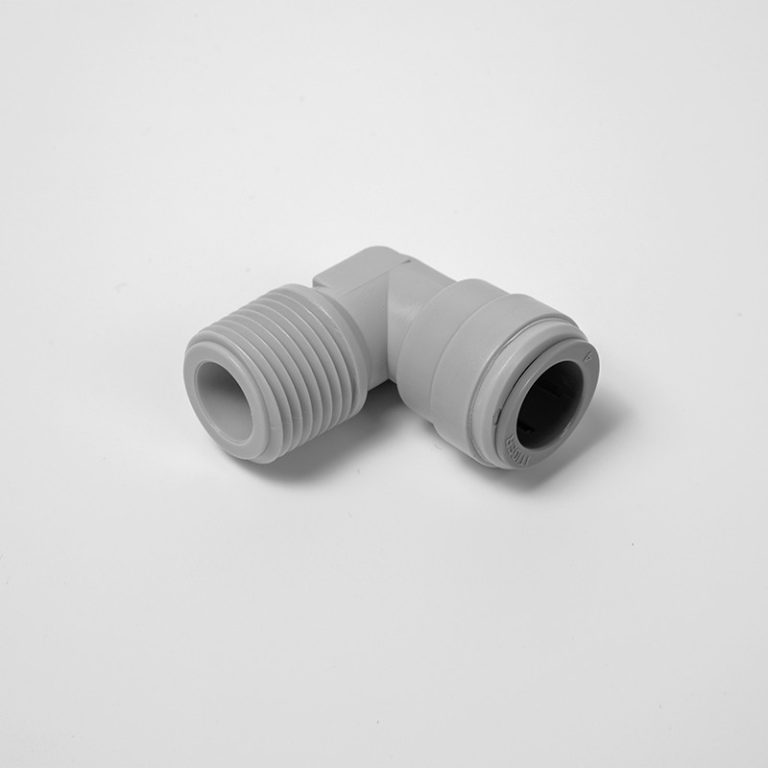
The first step in removing a plastic quick connect fitting is to identify the type of fitting you’re working with. There are several different types of quick connect fittings, including push-to-connect, snap-to-connect, and twist-to-connect fittings. Each type of fitting requires a slightly different approach to removal, so it’s important to know what you’re dealing with before you begin.
Once you’ve identified the type of fitting you’re working with, the next step is to gather the necessary tools. You’ll typically need a pair of adjustable pliers or a wrench to loosen the fitting, as well as a small flathead screwdriver or a similar tool to help release the locking mechanism. It’s also a good idea to have a rag or towel on hand to catch any water or other fluids that may leak out when you remove the fitting.
To remove a push-to-connect fitting, start by pushing in the release collar on the fitting. This will release the grip on the pipe or hose and allow you to pull the fitting off. If the fitting is stubborn and won’t release, you may need to use a pair of pliers to gently twist and pull the fitting until it comes loose. Be careful not to use too much force, as this can damage the fitting or the pipe.
| Model | Tube(a) | Stem(b) |
|---|---|---|
| 1801-A | 1/4 | 1/4 |
| 1801-C | 1/4 | 3/28 |
For snap-to-connect fittings, you’ll need to locate the release tab on the fitting. Use a small flathead screwdriver or similar tool to press down on the tab while gently pulling on the fitting. This should release the locking mechanism and allow you to remove the fitting. Again, be careful not to use too much force, as this can cause damage.
Twist-to-connect fittings are a bit more straightforward to remove. Simply twist the fitting in a counterclockwise direction until it comes loose from the pipe or hose. You may need to use a pair of pliers to get a good grip on the fitting and twist it off. Once the fitting is removed, you can inspect it for any damage or wear and replace it if necessary.
After you’ve successfully removed the plastic quick connect fitting, it’s a good idea to clean and inspect the fitting and the pipe or hose it was attached to. Look for any signs of wear or damage, such as cracks, leaks, or corrosion, and replace any damaged components as needed. Once everything is clean and in good condition, you can reassemble the fitting or install a new one if necessary.
In conclusion, removing plastic quick connect fittings is a relatively simple process that can be done with the right tools and techniques. By following the steps outlined in this guide, you can safely and effectively remove plastic quick connect fittings from your plumbing or automotive system without causing damage. Remember to take your time and be gentle with the fittings to avoid any mishaps.