Table of Contents
Step-by-Step Guide to Calibrating Mettler Toledo conductivity meter
Calibrating a Mettler Toledo conductivity meter is a crucial process that ensures the accuracy and reliability of the measurements it provides. This process involves adjusting the meter’s readings to match a known standard, thereby ensuring that the meter provides accurate readings in real-world applications. This article provides a step-by-step guide on how to calibrate a Mettler Toledo conductivity meter.
To begin with, it is important to understand that calibration should be performed regularly to maintain the accuracy of the meter. The frequency of calibration depends on the usage and the requirements of the specific application. For instance, if the meter is used in a laboratory setting where high precision is required, it may need to be calibrated more frequently than if it is used in a less demanding environment.
The first step in the calibration process is to prepare the calibration standards. These are solutions with known conductivity values that are used to adjust the meter’s readings. Mettler Toledo provides a range of calibration standards that are suitable for different applications. It is important to choose a standard that is close to the expected conductivity of the sample to be measured.
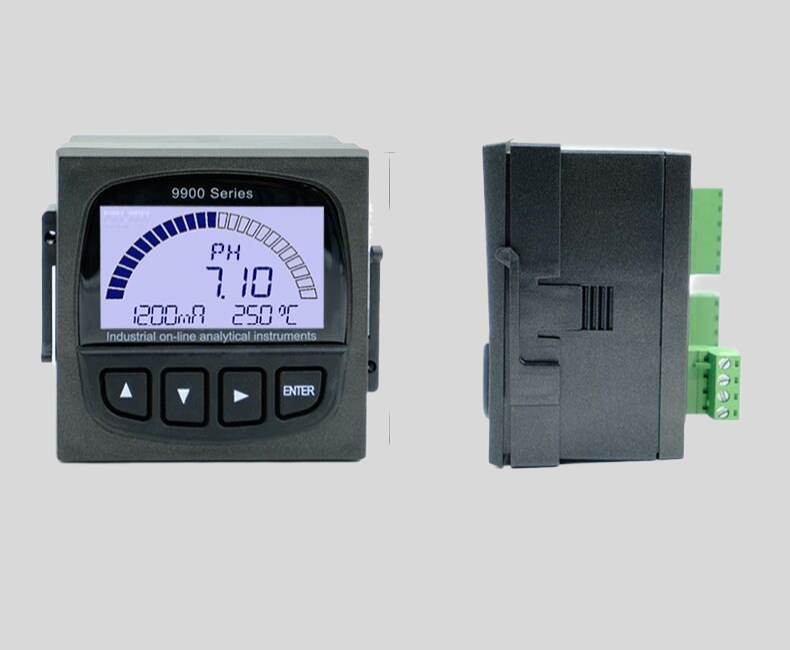
| Model | EC-1800 online conductivity controller |
| Range | 0-2000/4000uS/cm 0-20/200mS/cm |
| 0-1000/2000PPM | |
| Accuracy | 1.5%, 2%, 3%(FS) |
| Temp. Comp. | Automatic temperature compensation based on 25℃ |
| Oper. Temp. | Normal 0~50℃; High temp 0~120℃ |
| Sensor | C=0.1/1.0/10.0cm-1 |
| Display | 128*64 LCD Screen |
| Communication | 4-20mA output/2-10V/1-5V/RS485 |
| Output | High/Low limit dual relay control |
| Power | AC 220V±10% 50/60Hz or AC 110V±10% 50/60Hz or DC24V/0.5A |
| Working Environment | Ambient temperature:0~50℃ |
| Relative humidity≤85% | |
| Dimensions | 96×96×100mm(H×W×L) |
| Hole Size | 92×92mm(H×W) |
| Installation Mode | Embedded |
Once the calibration standard is prepared, the next step is to clean the conductivity cell. This is the part of the meter that comes into contact with the sample and measures its conductivity. Cleaning the cell ensures that there are no residues from previous measurements that could affect the accuracy of the calibration. The cell can be cleaned with distilled water and a soft brush, and then rinsed thoroughly.
After cleaning the cell, it is time to perform the calibration. This involves immersing the cell in the calibration standard and allowing it to equilibrate. The meter is then adjusted to match the known conductivity of the standard. This process may need to be repeated several times to ensure accuracy.
Once the meter has been calibrated, it is important to verify the calibration by measuring the conductivity of a second standard. This should be a different solution with a known conductivity that is within the range of the expected sample conductivity. If the meter’s reading matches the known conductivity of the second standard, this confirms that the calibration has been successful.
In conclusion, calibrating a Mettler Toledo conductivity meter involves preparing the calibration standards, cleaning the conductivity cell, adjusting the meter to match the known conductivity of the standard, and verifying the calibration with a second standard. This process ensures that the meter provides accurate and reliable measurements, which is crucial for many applications in fields such as chemistry, biology, and environmental science.
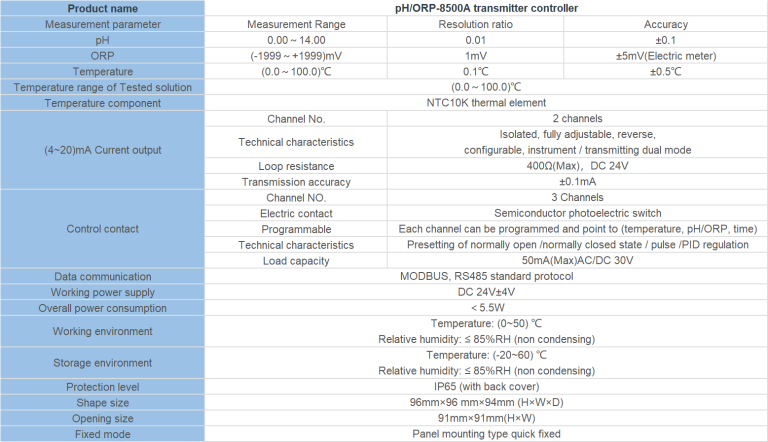
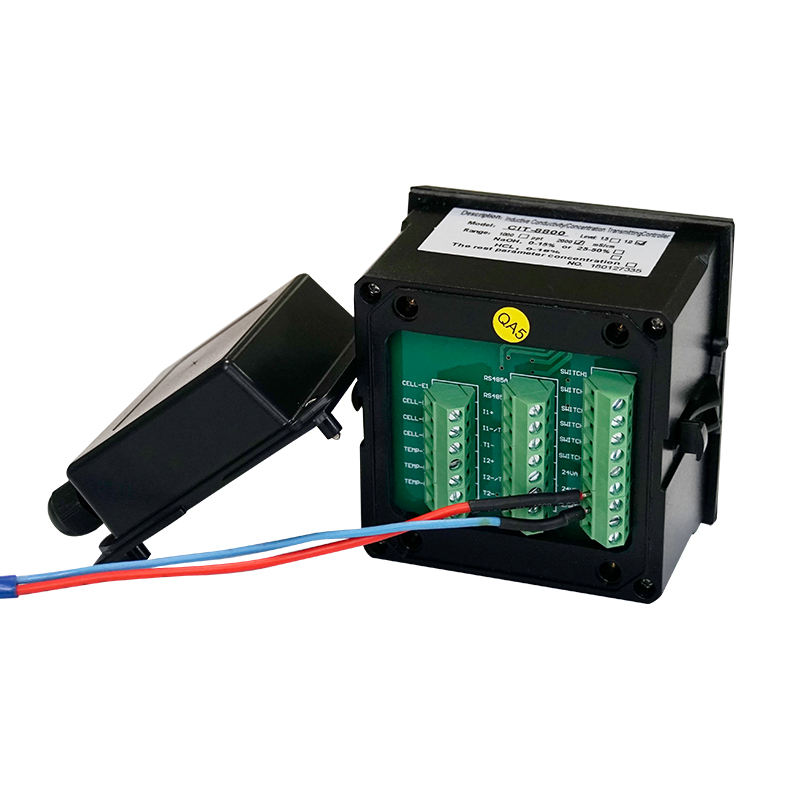
| Model | CIT-8800 Inductive Conductivity/Concentration Oline Controller |
| Concentration | 1.NaOH:(0~15)% or(25~50)%; 2.HNO3:(0~25)% or(36~82)%; 3.User-defined concentration curves |
| Conductivity | (500~2,000,000)uS/cm |
| TDS | (250~1,000,000)ppm |
| Temp. | (0~120)°C |
| Resolution | Conductivity: 0.01uS/cm; Concentration: 0.01%; TDS:0.01ppm, Temp.: 0.1℃ |
| Accuracy | Conductivity: (500~1000)uS/cm +/-10uS/cm; (1~2000)mS/cm+/-1.0% |
| TDS: 1.5 level, Temp.: +/-0.5℃ | |
| Temp. compensation | Range: (0~120)°C; element: Pt1000 |
| Communication port | RS485.Modbus RTU protocol |
| Analog output | Two channels isolated/ transportable (4-20)mA, Instrument / Transmitter for selection |
| Control Output | Triple channels semiconductor photoelectric switch, Programmable Switch, pulse and frequency |
| Working Environment | Temp.(0~50)℃; relative humidity <95%RH (non-condensing) |
| Storage Environment | Temp.(-20~60)℃;Relative Humidity ≤85%RH (none condensation) |
| Power Supply | DC 24V+15% |
| Protection Level | IP65 (with rear cover) |
| Dimension | 96mmx96mmx94mm(HxWxD) |
| Hole Size | 9lmmx91mm(HxW) |
Remember, calibration is not a one-time process but a regular part of maintaining the accuracy and reliability of a Mettler Toledo conductivity meter. By following these steps, you can ensure that your meter is always ready to provide accurate measurements, whether you are conducting a simple experiment in a school laboratory or performing complex analyses in a professional research facility.
Mastering the Calibration Process of Mettler Toledo Conductivity Meter
Mastering the calibration process of the Mettler Toledo conductivity meter is an essential skill for anyone working in a laboratory setting. This high-precision instrument is used to measure the electrical conductivity in a solution, which is a critical parameter in many fields, including chemistry, biology, and environmental science. However, to ensure accurate and reliable results, it is crucial to calibrate the meter regularly. This article will guide you through the step-by-step process of calibrating a Mettler Toledo conductivity meter.
Before starting the calibration process, it is important to understand that the accuracy of the meter depends on the quality of the calibration standards used. Therefore, always use fresh, unexpired standards and ensure they are stored properly to prevent contamination. Also, remember to clean the conductivity cell before and after each use to avoid any residue that could affect the readings.
The first step in the calibration process is to turn on the meter and allow it to stabilize. This usually takes about 15 minutes. During this time, the meter’s internal components warm up to their operating temperature, ensuring consistent performance throughout the calibration process.
Once the meter is ready, select the calibration mode from the menu. The Mettler Toledo conductivity meter typically offers two calibration modes: single-point and multi-point. The single-point calibration is suitable for routine measurements, while the multi-point calibration provides higher accuracy for more demanding applications.
For a single-point calibration, immerse the conductivity cell into a standard solution with a known conductivity value. Wait for the reading to stabilize, then press the ‘calibrate’ button. The meter will automatically adjust its internal parameters to match the standard’s conductivity value.
For a multi-point calibration, repeat the same process with two or more standards covering the entire range of expected conductivity values. The meter will use these data points to create a calibration curve, which will be used to calculate the conductivity of unknown samples.
After the calibration is complete, it is good practice to verify the accuracy of the meter by measuring a control sample with a known conductivity value. If the meter’s reading is within the acceptable range, the calibration is successful. If not, repeat the calibration process.
Remember that calibration is not a one-time process. The frequency of calibration depends on the usage of the meter and the accuracy requirements of your measurements. As a general rule, calibrate the meter at least once a week or before any critical measurements.