Table of Contents
Benefits of Using an analog dissolved oxygen sensor Meter Kit for Arduino
Analog dissolved oxygen sensor meter kits for Arduino are becoming increasingly popular among hobbyists, students, and professionals alike. These kits offer a cost-effective and user-friendly solution for measuring dissolved oxygen levels in various applications, such as aquaculture, environmental monitoring, and water quality testing. In this article, we will explore the benefits of using an analog dissolved oxygen sensor meter kit for Arduino.
One of the key advantages of using an analog dissolved oxygen sensor meter kit for Arduino is its versatility. These kits are compatible with a wide range of Arduino boards, making them suitable for a variety of projects. Whether you are a beginner looking to learn more about sensor technology or an experienced developer working on a complex monitoring system, an analog dissolved oxygen sensor meter kit for Arduino can meet your needs.
Another benefit of using an analog dissolved oxygen sensor meter kit for Arduino is its ease of use. These kits typically come with all the necessary components, including the sensor, cables, and connectors, as well as detailed instructions for assembly and programming. This makes it easy for users to get started with their projects without the need for specialized knowledge or skills.
Furthermore, analog dissolved oxygen sensor meter kits for Arduino offer high accuracy and reliability. The sensors used in these kits are designed to provide precise measurements of dissolved oxygen levels, ensuring that users can trust the data they collect. This is particularly important in applications where accurate monitoring is essential, such as in aquaculture or environmental research.
In addition to their accuracy, analog dissolved oxygen sensor meter kits for Arduino are also cost-effective. Compared to traditional dissolved oxygen meters, which can be expensive and require regular calibration and maintenance, these kits offer a more affordable alternative. This makes them accessible to a wider range of users, including students and hobbyists with limited budgets.
Moreover, analog dissolved oxygen sensor meter kits for Arduino are highly customizable. Users can easily modify the code to suit their specific requirements, allowing for greater flexibility in their projects. Whether you need to adjust the sampling rate, calibrate the sensor, or integrate additional sensors, an analog dissolved oxygen sensor meter kit for Arduino can be easily tailored to meet your needs.
Overall, analog dissolved oxygen sensor meter kits for Arduino offer a range of benefits, including versatility, ease of use, accuracy, reliability, affordability, and customization. Whether you are a beginner looking to learn more about sensor technology or an experienced developer working on a complex monitoring system, these kits provide a practical and efficient solution for measuring dissolved oxygen levels in various applications. With their user-friendly design and high performance, analog dissolved oxygen sensor meter kits for Arduino are a valuable tool for anyone interested in monitoring and controlling dissolved oxygen levels.
How to Build and Calibrate an Analog Dissolved Oxygen Sensor Meter Kit for Arduino
Analog dissolved oxygen sensor meters are essential tools for monitoring water quality in various applications, such as aquaculture, environmental monitoring, and research. These meters measure the amount of oxygen dissolved in water, which is crucial for the survival of aquatic organisms and the overall health of aquatic ecosystems. In this article, we will discuss how to build and calibrate an analog dissolved oxygen sensor meter kit for Arduino.
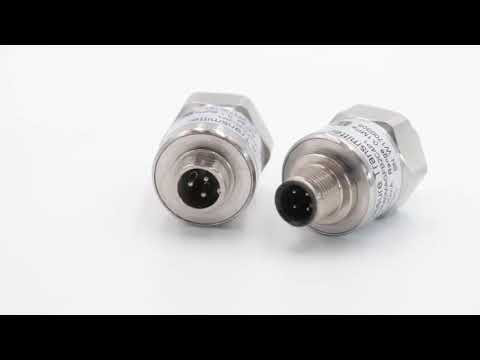
To begin, you will need to gather the necessary materials for this project. You will need an analog dissolved oxygen sensor kit, an Arduino board, a breadboard, jumper wires, and a power source. The analog dissolved oxygen sensor kit typically includes a sensor probe, a signal conditioning board, and calibration solutions.
Once you have all the materials, you can start building the circuit. First, connect the sensor probe to the signal conditioning board using the provided cables. Then, connect the signal conditioning board to the Arduino board using jumper wires. Make sure to follow the wiring diagram provided with the sensor kit to ensure proper connections.
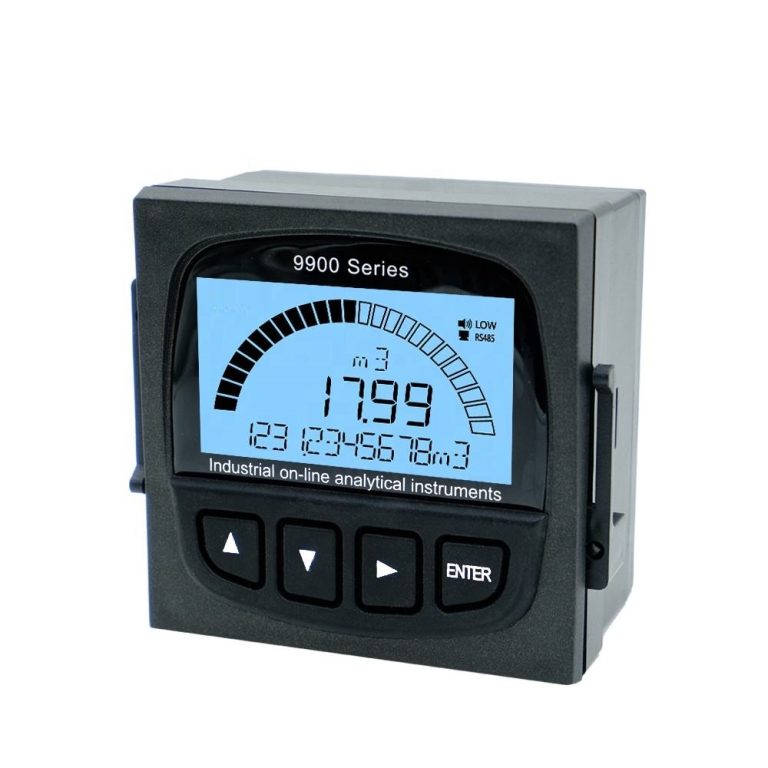
| Model No. | CCT-8301A Conductivity Resistivity Online Controller Spec | |||
| Conductivity | Resistivity | TDS | Temp. | |
| Measurement range | 0.1μS/cm~40.0mS/cm | 50KΩ·cm~18.25MΩ·cm | 0.25ppm~20ppt | (0~100)℃ |
| Resolution | 0.01μS/cm | 0.01MΩ·cm | 0.01ppm | 0.1℃ |
| Accuracy | 1.5level | 2.0level | 1.5level | ±0.5℃ |
| Temp.Compensation | Pt1000 | |||
| Working Environment | Temp. (0~50)℃; relative humidity ≤85%RH | |||
| Analog Output | Double channel (4~20)mA,Instrument/Transmitter for selection | |||
| Control Output | Triple channels photo-electronic semiconductor relay ,Load capacity: AC/DC 30V,50mA(max) | |||
| Power Supply | DC 24V±15% | |||
| Consumption | ≤4W | |||
| Protection Level | IP65(with the back cover) | |||
| Installation | Panel mounted | |||
| Dimension | 96mm×96mm×94mm (H×W×D) | |||
| Hole Size | 91mm×91mm(H×W) | |||
After the circuit is set up, you can upload the code to the Arduino board. The code will read the analog output from the sensor and convert it into dissolved oxygen concentration readings. You can find sample code for this project online or create your own code based on the specifications of your sensor kit.
Once the code is uploaded, you can calibrate the sensor using the calibration solutions included in the kit. Calibration is essential to ensure accurate readings from the sensor. Follow the instructions provided with the sensor kit to calibrate the sensor properly. Typically, calibration involves immersing the sensor probe in a zero oxygen solution (such as distilled water) and a high oxygen solution (such as air-saturated water) to set the baseline readings.
| Model | pH/ORP-810 pH/orp meter |
| Range | 0-14 pH; -2000 – +2000mV |
| Accuracy | ±0.1pH; ±2mV |
| Temp. Comp. | Automatic temperature compensation |
| Oper. Temp. | Normal 0~50℃; High temp 0~100℃ |
| Sensor | pH double/triple sensor; ORP sensor |
| Display | LCD Screen |
| Communication | 4-20mA output/RS485 |
| Output | High/Low limit dual relay control |
| Power | AC 220V±10% 50/60Hz or AC 110V±10% 50/60Hz or DC24V/0.5A |
| Working Environment | Ambient temperature:0~50℃ |
| Relative humidity≤85% | |
| Dimensions | 96×96×100mm(H×W×L) |
| Hole Size | 92×92mm(H×W) |
| Installation Mode | Embedded |
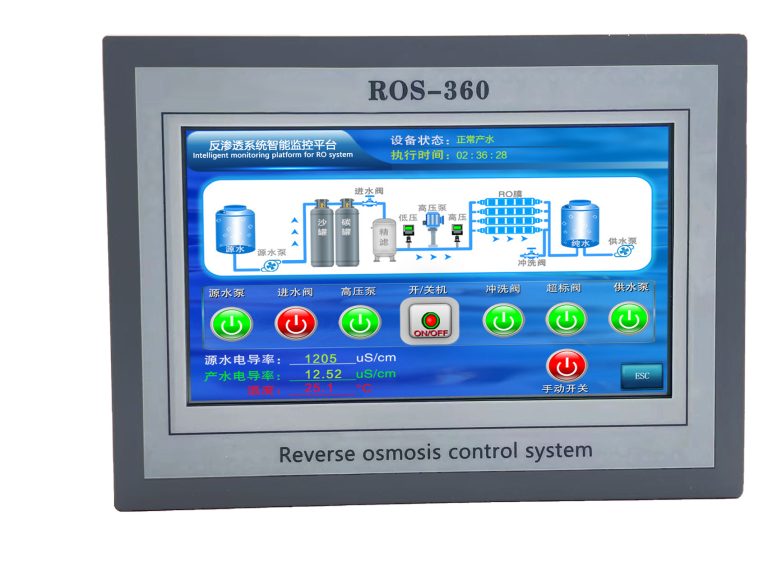
After calibration, you can start using the analog dissolved oxygen sensor meter to monitor dissolved oxygen levels in water. The Arduino board will display the dissolved oxygen concentration readings on a connected display or through serial communication to a computer. You can also set up data logging capabilities to record dissolved oxygen levels over time for further analysis.
In conclusion, building and calibrating an analog dissolved oxygen sensor meter kit for Arduino is a straightforward process that can provide valuable insights into water quality. By following the steps outlined in this article, you can create a reliable tool for monitoring dissolved oxygen levels in various aquatic environments. Whether you are a hobbyist, researcher, or environmental professional, an analog dissolved oxygen sensor meter kit for Arduino can be a valuable addition to your toolkit.