“Seamlessly connect Speedfit to copper pipe for reliable and efficient plumbing solutions.”
Table of Contents
Benefits of Using Speedfit Connectors for Copper Pipe Installation
When it comes to plumbing installations, using copper pipes has long been a popular choice due to their durability and reliability. However, connecting copper pipes can be a time-consuming and labor-intensive process, requiring soldering and specialized tools. This is where Speedfit connectors come in, offering a quick and easy solution for connecting copper pipes without the need for soldering.
One of the main benefits of using Speedfit connectors for copper pipe installation is the time and labor savings they provide. Traditional methods of connecting copper pipes involve cutting, cleaning, fluxing, and soldering each joint, which can be a time-consuming process. With Speedfit connectors, all you need to do is cut the copper pipe to length, push the Speedfit connector onto the pipe, and you’re done. This can significantly reduce installation time and labor costs, making it a more efficient option for plumbers and DIY enthusiasts alike.
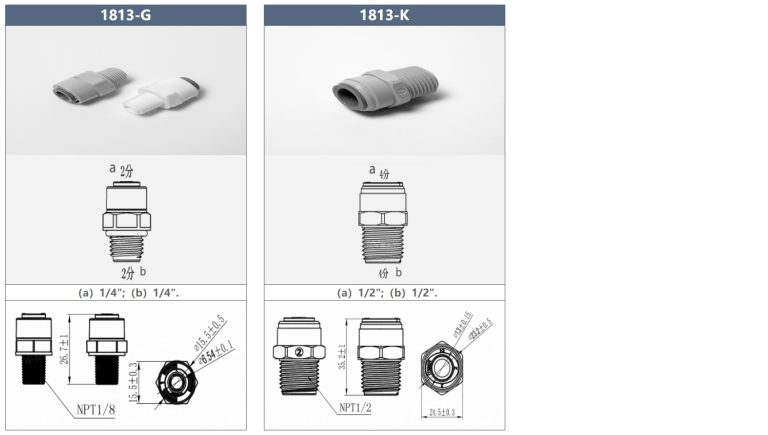
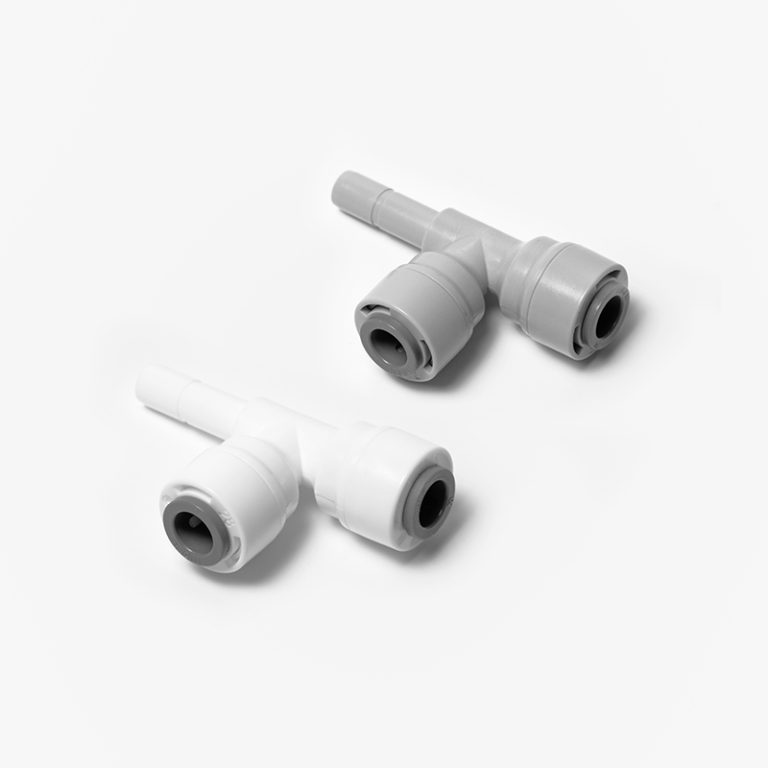
| Model | Tube(a) | Stem(b) |
|---|---|---|
| 1801-A | 1/4 | 1/4 |
| 1801-C | 1/4 | 3/9 |
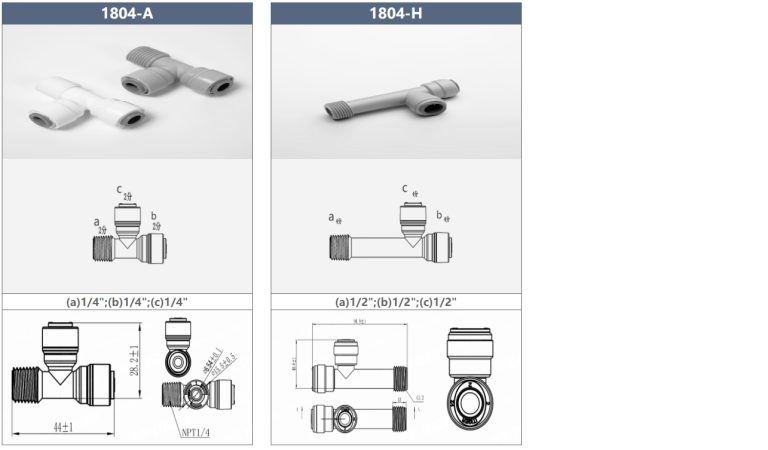
Another advantage of using Speedfit connectors is their versatility. Speedfit connectors are compatible with a wide range of pipe materials, including copper, PEX, and CPVC. This means that you can use Speedfit connectors to connect copper pipes to other types of pipes, providing flexibility in your plumbing installations. Additionally, Speedfit connectors come in a variety of sizes, allowing you to connect pipes of different diameters with ease.
| POM | Highly durable and resistant to fatigue and creep |
| ST Teeth | 304 Stainless Steel, good corrosion resistance |
| NBR | Good oil resistance |
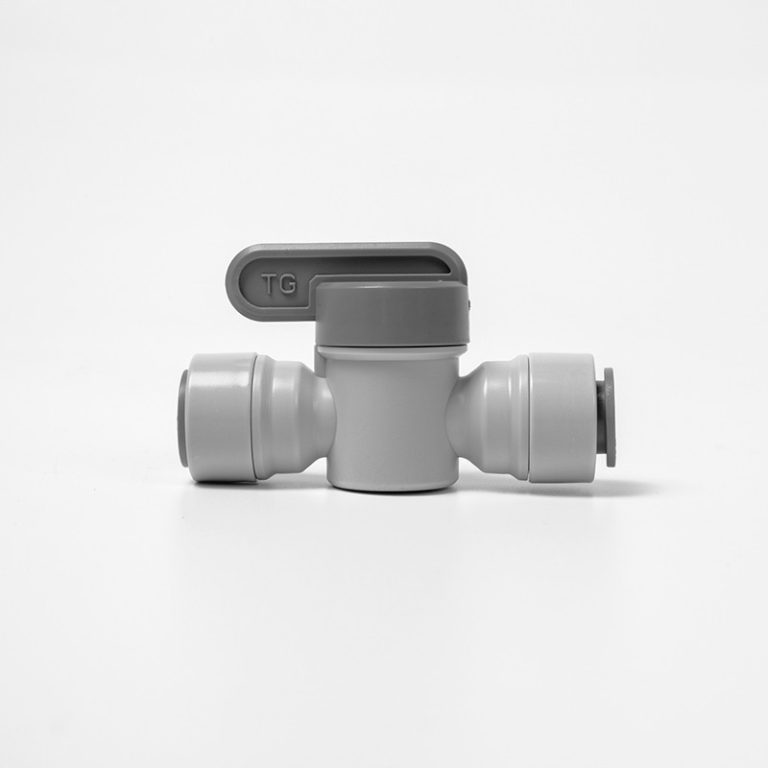
In addition to their ease of installation and versatility, Speedfit connectors also offer a reliable and leak-proof connection. The unique design of Speedfit connectors features a push-fit mechanism that creates a secure seal between the pipe and the connector, preventing leaks and ensuring a long-lasting connection. This can provide peace of mind knowing that your plumbing installations are secure and leak-free.

Furthermore, Speedfit connectors are reusable, allowing you to easily disconnect and reconnect pipes as needed. This can be particularly useful in situations where you need to make adjustments or repairs to your plumbing system. Simply push the release button on the Speedfit connector, and the pipe can be easily removed without damaging the connector or the pipe. This can save time and money on future maintenance and repairs.
Overall, using Speedfit connectors for copper pipe installation offers a range of benefits, including time and labor savings, versatility, reliability, and reusability. Whether you are a professional plumber looking to streamline your installations or a DIY enthusiast tackling a home improvement project, Speedfit connectors provide a convenient and efficient solution for connecting copper pipes. With their ease of installation and secure seal, Speedfit connectors are a reliable choice for any plumbing application.
Step-by-Step Guide on How to Connect Speedfit to Copper Pipe
Speedfit fittings are a popular choice for connecting pipes due to their ease of use and reliability. If you are looking to connect Speedfit to copper pipe, you have come to the right place. In this step-by-step guide, we will walk you through the process of connecting Speedfit to copper pipe.
First, it is important to gather all the necessary tools and materials for the job. You will need a pipe cutter, a deburring tool, Speedfit fittings, copper pipe, and a Speedfit pipe insert. Make sure to measure and cut the copper pipe to the desired length using a pipe cutter. Once the pipe is cut, use a deburring tool to remove any burrs or rough edges from the cut end of the pipe.
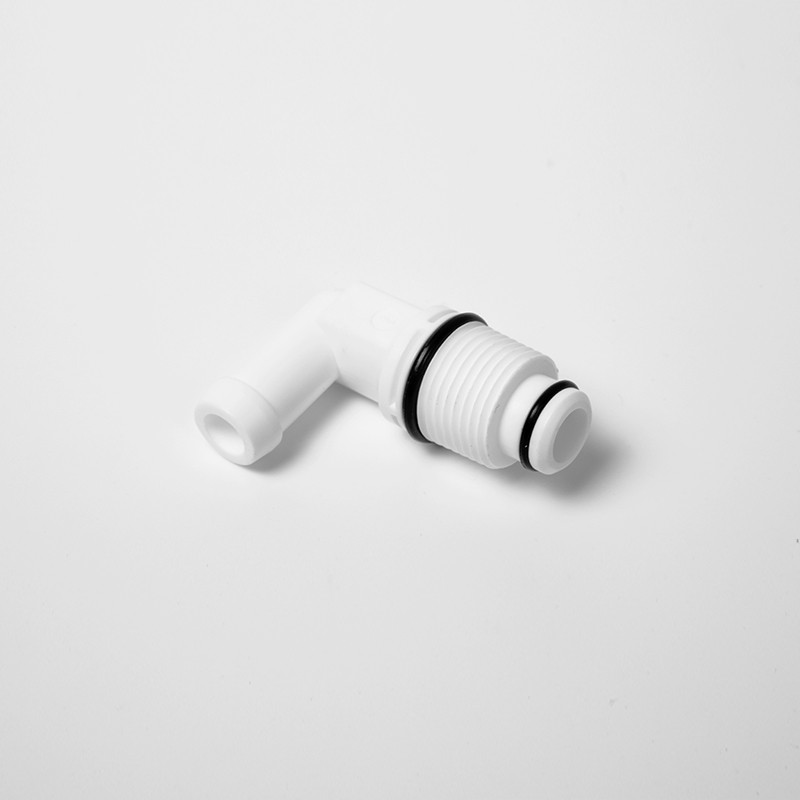
Next, insert the Speedfit pipe insert into the end of the copper pipe. The pipe insert helps to support the pipe and prevent it from collapsing when the fitting is tightened. Make sure the pipe insert is fully inserted into the pipe before proceeding to the next step.
Now, it is time to connect the Speedfit fitting to the copper pipe. Simply push the fitting onto the end of the pipe until it reaches the pipe stop. The pipe stop ensures that the pipe is inserted to the correct depth and provides a secure connection. Make sure the fitting is fully inserted onto the pipe to ensure a watertight seal.
To secure the connection, use a Speedfit release tool to lock the fitting in place. Insert the release tool into the fitting and push it towards the pipe until you hear a click. This indicates that the fitting is securely locked in place. Repeat this process for any additional fittings that need to be connected to the copper pipe.
Once all the fittings are securely connected, it is important to test the connection for leaks. Turn on the water supply and check for any signs of water leakage around the fittings. If you notice any leaks, tighten the fittings using a wrench until the leaks stop. It is important to ensure that the connections are watertight to prevent any potential damage or flooding.
In conclusion, connecting Speedfit to copper pipe is a straightforward process that can be easily done with the right tools and materials. By following this step-by-step guide, you can successfully connect Speedfit fittings to copper pipe and ensure a reliable and secure connection. Remember to measure and cut the copper pipe accurately, use a pipe insert for support, and test the connections for leaks before completing the job. With these tips in mind, you can confidently tackle any plumbing project that involves connecting Speedfit to copper pipe.